Place a Call from Engage
Engage lets you complete Call actions quickly, with actions displayed in order of priority. The steps below describe how to place calls from Engage using the RingDNA Dialer.
Some Call actions may include a Call Note Template, which can pre-populate your Call Notes field under the dialer’s Call Tools.
Complete a Call Action
- Open the
Engageview. - Ensure you are on the
Due Nowtab. - Find a Call action and click
Callto open the RingDNA Dialer. - Complete your call in the Dialer.
After you complete the call, RingDNA will automatically create a new Conversation and Task in Salesforce as a record of the interaction, and the completed Participant Action will be removed from your Engage list.
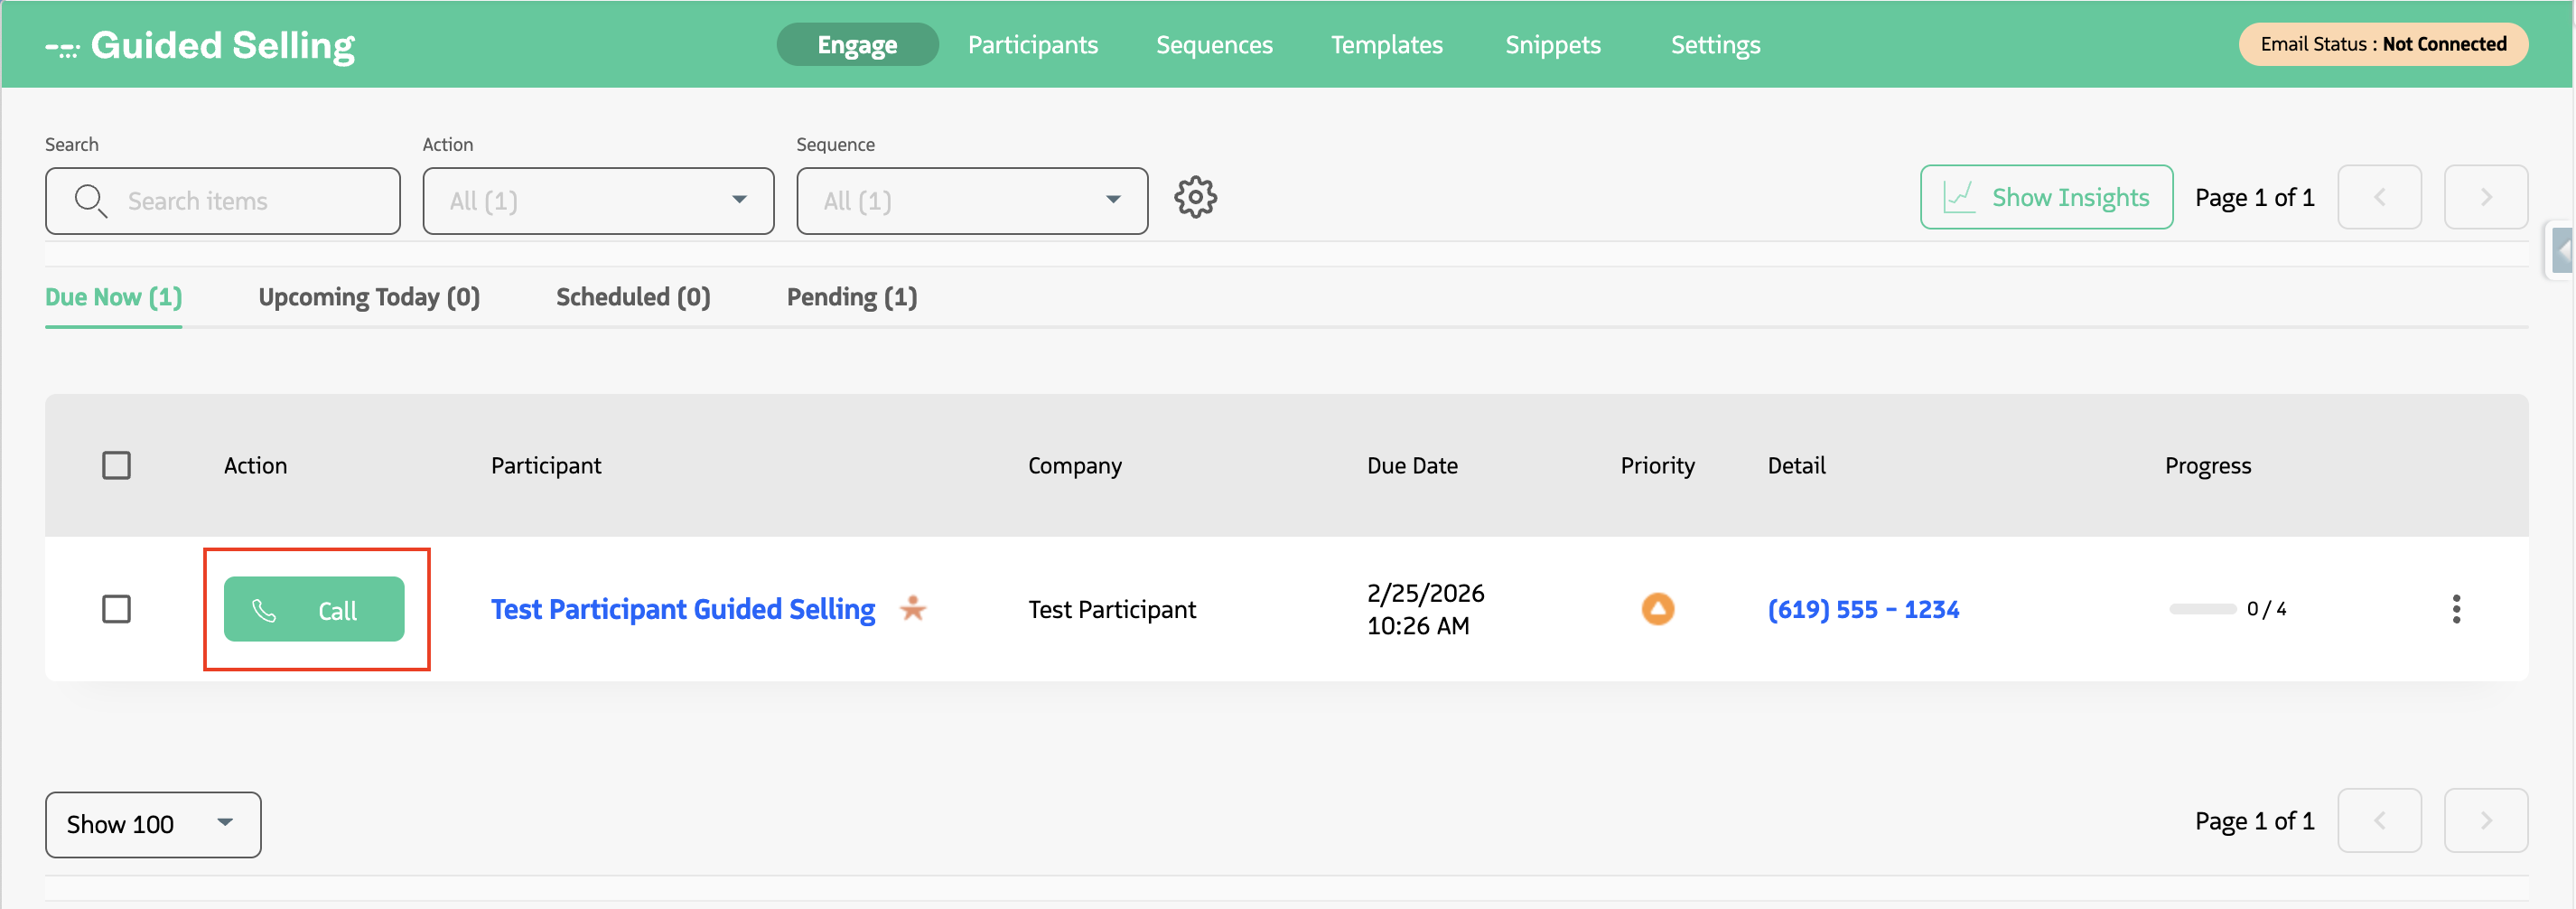
Click Call in the action row to place the call in the RingDNA Dialer.
Call button is disabled, the prospect likely has no phone number or it’s formatted incorrectly. Check the Detail column and add or correct the phone number on the record, then retry.Dial Next on Engage
Dial Next lets you work through your Engage call list without returning to the list between calls. When enabled, clicking Call opens the RingDNA Dialer with the participant’s details and phone numbers. After you finish a call, you can click Dial Next in the dialer to move straight to the next Call Action in your list. A call can only be initiated if the Contact or Lead has a valid phone number on their record.
To turn on Dial Next for the RingDNA Dialer, see Dialing down Salesforce lead lists with DialNext (enable the DialNext Caller toggle in Settings > General).