Engage
Role:
Sequence Agent
License:
Guided Selling
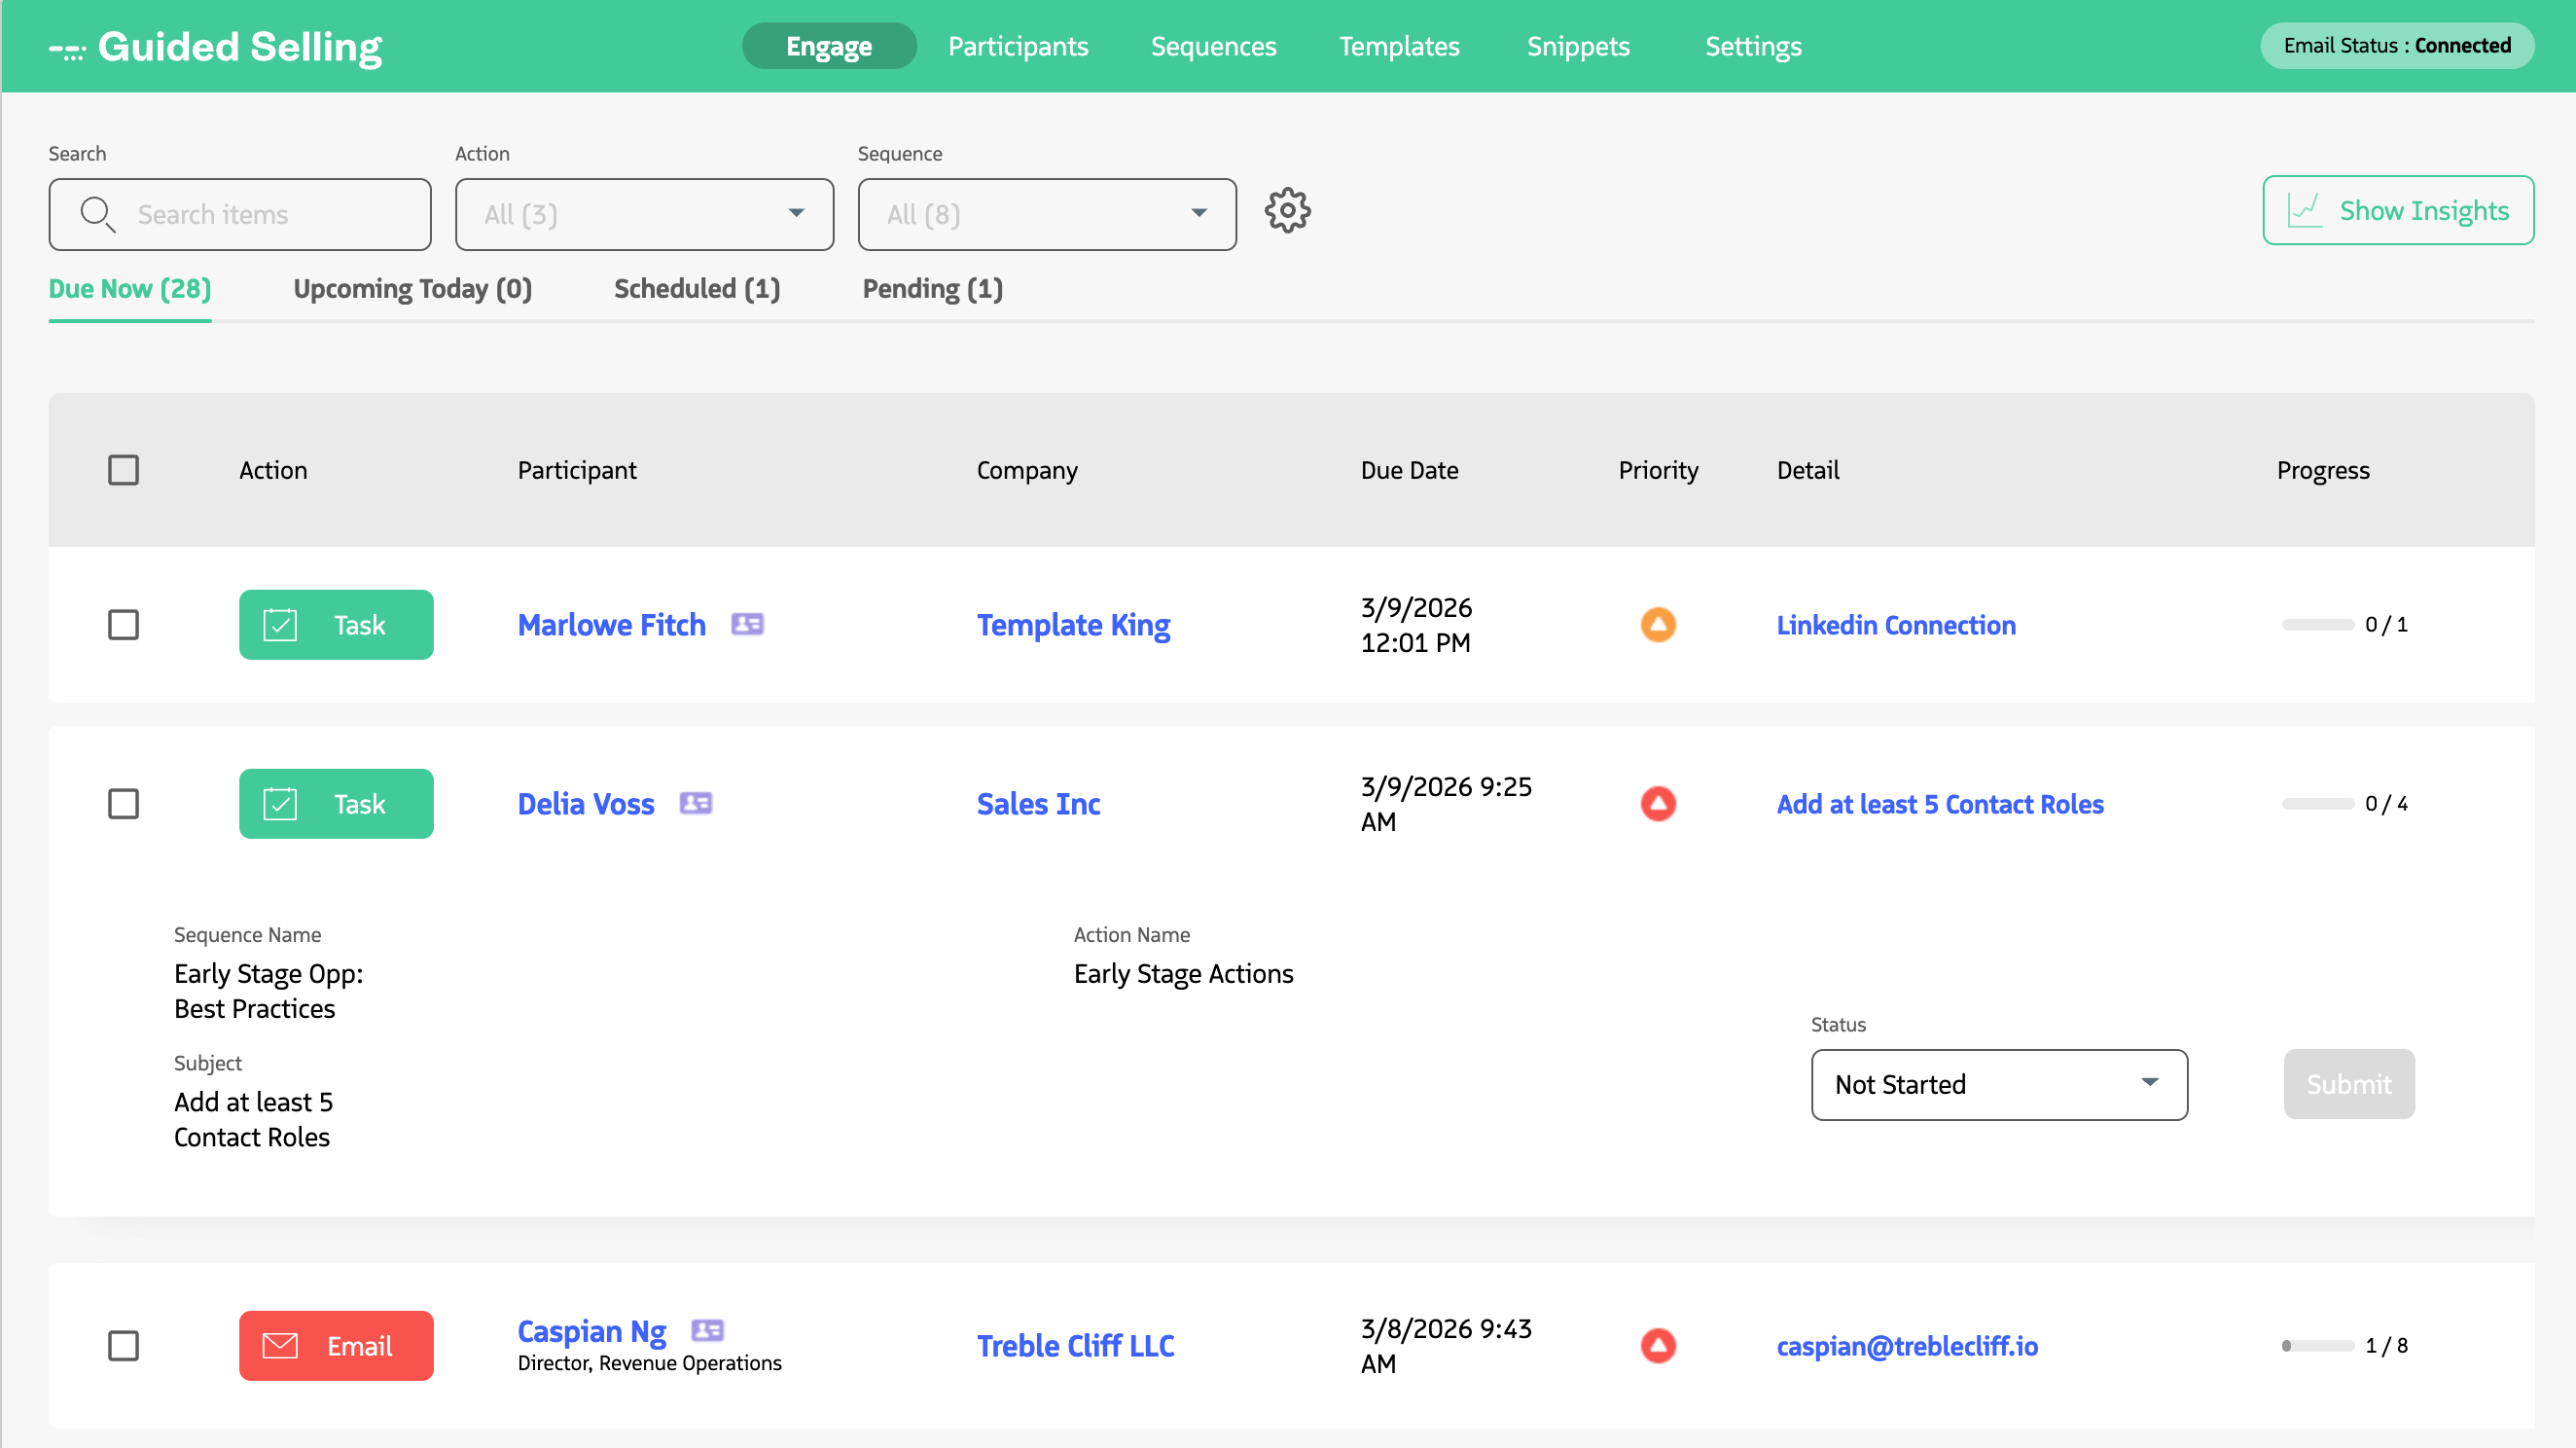
Engage is the primary view for working with your prospects in Guided Selling. Use it to view current and upcoming participant actions and to complete what’s due from your sequences. Calls, emails, SMS messages, and tasks, all in one place.
How to access Engage
- Open Salesforce.
- Click the icon (App Launcher) in the Salesforce header to open the app menu.
- Search for Guided Selling.
- Click the
Engagetab.
Engage Insights
When you click the Show Insights button, the page reveals analytics cards that show your progress throughout the day.

Metrics are calculated in Coordinated Universal Time (UTC) because Salesforce stores events, such as Lead conversions, using UTC dates. For instance, if a Lead is converted after 5 PM PST, it will not be considered as occurring “today,” since 5 PM PST corresponds to midnight in the UTC time zone.
Engage Settings
Clicking the Settings button opens the settings panel where you can apply filters, show or hide columns, and more. Key options include:
- Quick Filters: Search for a Participant and filter by Action or Sequence.
- Header Filters: Show filters in the table header so you can filter by column (e.g.,
Company,Timezone,Participant Type). - Table Footer: Shows additional information below the table.
- Pagination: Navigate through the list in pages instead of infinite scrolling.
- Reset Settings: Reverts all settings under
Other Settingsto their default values.
For step-by-step setup of filters and columns, see Customize Engage.
Engage Table Configuration
You can drag and resize columns directly in the table. To show or hide columns, use the Settings panel; see Add additional columns and filters for details.
How-To Articles
Place calls, send emails and SMS, and complete tasks from the Engage view.
Change the due date and time for single or multiple actions.
Complete, skip, reschedule, or send in bulk for selected actions.
Find participants and view action details using search and filters.
Use quick filters, header filters, and settings panel options to focus your action list.
Configure filters, columns, quick filters, and pagination.
Last updated on